How I Choose the Best Lightweight Tripod Selfie Stick for Travel Vlogging
Lightweight Tripod Selfie Stick for Travel Vlogging:
If You are like me and love capturing travel memories you have probably asked yourself: What is the best lightweight tripod selfie stick for travel vloging?
When I first Started Travel vlogging I did not realized how important this one tool would be. I carried heavy trips struggled with shaky footage and wasted time setting up my camera. Over time, I learned what really matters and today I am sharing everything. You are a beginner who just bought your first camera or someone planning their first international trip. What a lightweight tripod selfie stick is
- Why it is perfect for travel
- How to choose the right one
- What features matter most
- Common mistakes avoid
What Is a Lightweight Tripod Selfie Stick for Travel Vlogging?
A lightweight tripod selfie stick for travel vlogging is a compact tool that works as both:
1. A selfie stick (to hold your phone or camera while recording yourself)
2. A tripod (to stand independently on flat surfaces)
It is specially designed for travelers who need something:
- Easy to carry
- Quick to set up
- Stable for video recording
- Compact enough for backpacks or cabin luggage
If you are new to vlogging, check out how vlogging works on Wikipedia to understand the basics of video blogging.
Why I Prefer a Lightweight Tripod Selfie Stick for Travel Vlogging
When I Started I Used a full-size Tripod. It was Stable yes but it was heavy and bulky. Airport Security Checks became annoying and hiking with it was Exhausting.Here is why I switched
1. It Saves Space in My Backpack
When I travel I already carry:
Travel documents
Clothes
Laptop
Camera
Power bank
Adding a heavy tripod makes everything worse. A lightweight model usually weighs between 150g & 400g perfect for carry-on travel.
If you’re flying, you can review cabin luggage rules on Transportation Security Administration for better packing ideas.
2. It’s Faster to Set Up
When I am at a beautiful location I do not want to spend 10 minutes adjusting legs and angles.
With a compact tripod selfie stick:
- I extend it
- Open the tripod legs
- Start recording
Time matters when you are catching sunsets or moving between tourist spots.
3. It’s Ideal for Solo Travelers
If you travel alone (like I often do) you can not always ask strangers to film you.
With a tripod function you can:
- Record yourself walking
- Film talking-head videos
- Capture time-lapse shots
- Take stable photos
It gives you independence.
How to Choose the Best Lightweight Tripod Selfie Stick for Travel Vlogging
Now let is talk about what really matters. When I buy one I always check these factors.
1. Weight and Portability
Ask yourself:
- Will I carry this all day?
- Will I hike with it?
- Will it fit inside my backpack?
Look for:
- Aluminum or carbon fiber body
- Folded length under 25 cm
- Weight under 400g
The lighter it is the easier your travel becomes.
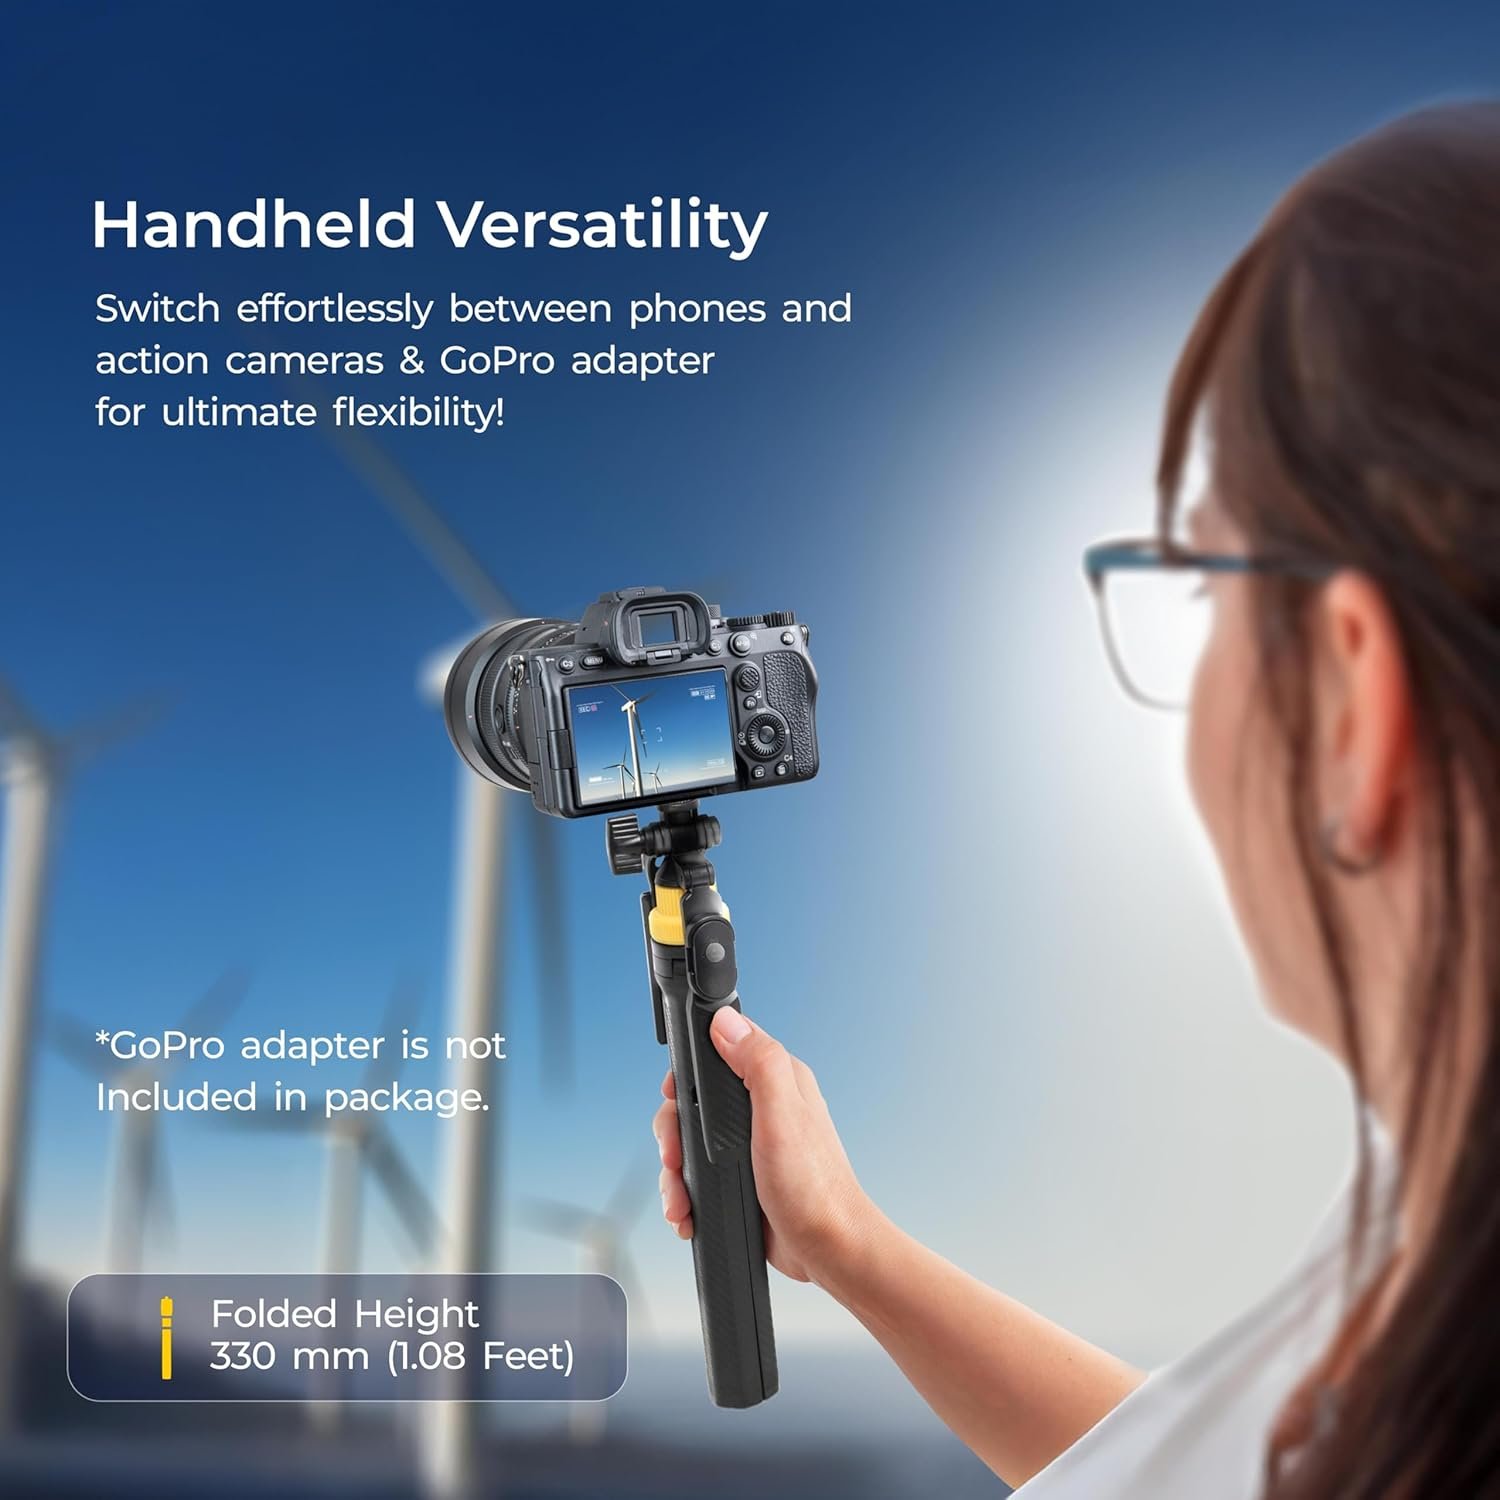
2. Compatibility (Phone or Camera?)
What are you using?
- Smartphone?
- Action camera like GoPro?
- Compact camera?
- Mirrorless camera?
Make sure the tripod selfie stick supports:
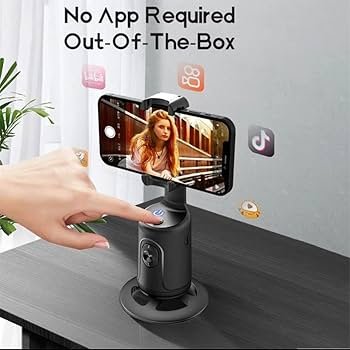
Bluetooth remote (for smartphones)
Standard 1/4-inch screw mount
Strong phone clamp
If you use smartphones like models from Apple or Samsung, ensure the clamp fits large screen sizes.
3. Stability Matters More Than Height
Many beginners think taller is better. But in travel vlogging, stability is more important.
Look for:
- Wide tripod base
- Anti-slip rubber feet
- Strong locking mechanism
- No wobbling when extended
If you’re recording in windy areas (like beaches or hill stations), stability is critical.

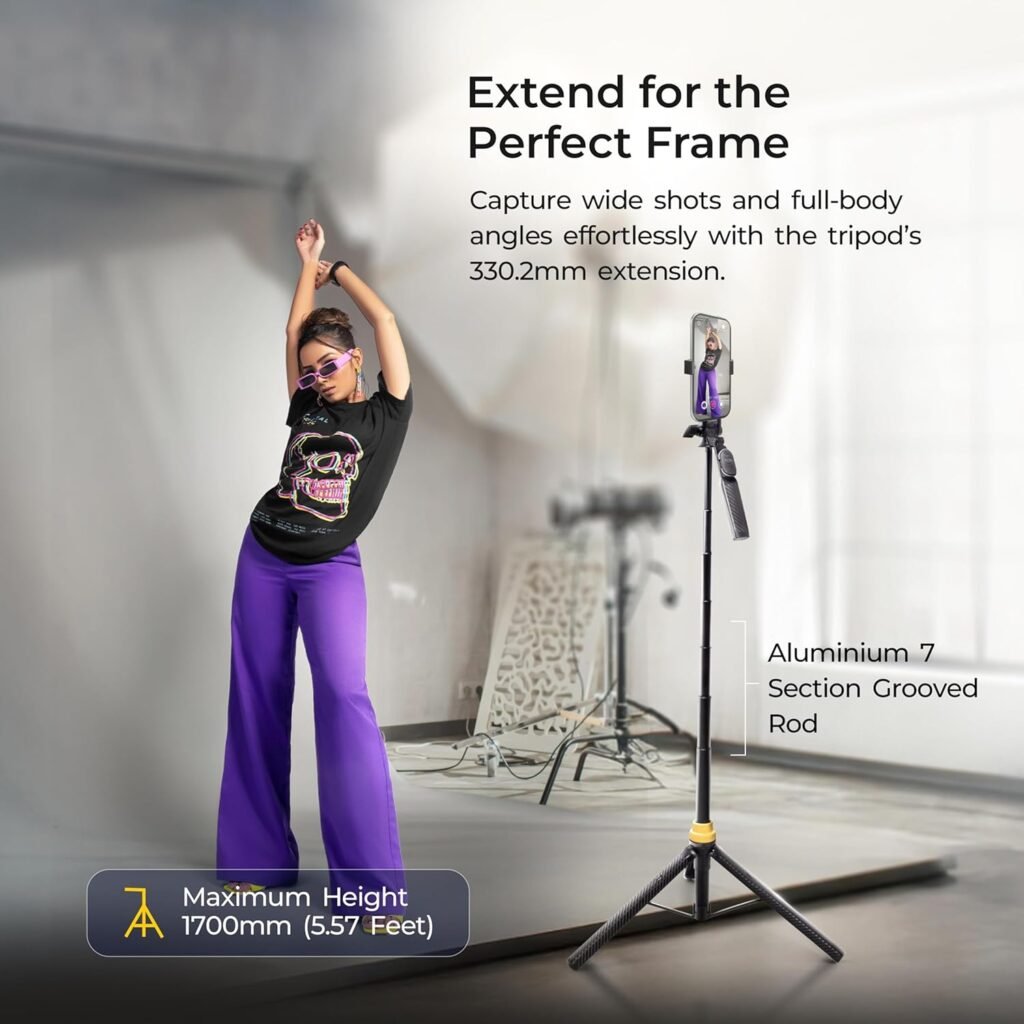
4. Adjustable Height
I prefer models that extend from:
- 20 cm (for desk shots)
- Up to 100–150 cm (for standing shots)
This gives flexibility for:
Outdoor travel scenes
Café vlogs
Hotel room setup
5. Build Quality
Cheap plastic may break during travel.
I recommend:
- Aluminum alloy
- Reinforced ABS plastic
- Stainless steel inner rod
Remember, travel gear gets thrown around in bags and buses.
Cheap plastic may break during travel.
6. Bluetooth Remote Control
This feature is a game changer.
With a remote:
- I start recording from distance
- I take group photos easily
- I don not rush back to the camera
For beginners, this makes vlogging less stressful.
When Should You Use a Lightweight Tripod Selfie Stick While Traveling?
Here are situations where I always use mine:
At Tourist Spots
Instead of handing my phone to strangers, I set it up myself.
Inside Hotels
Perfect for room tours and packing videos.
In Airports
Quick talking updates without needing help.
During Food Vlogging
Place it on the table and record clean, stable shots.
How I Pack My Lightweight Tripod Selfie Stick for Travel
Over time, I live learned smart packing tips:
- Always fold it completely.
- Lock all extensions tightly.
- Keep it inside a padded pouch.
- Store it near laptop compartments (for protection).
If you are planning international travel it is good to check guidelines from International Air Transport Association
Common Mistakes Beginners Make
Let me save you from mistakes I made.
Buying the Cheapest Option
Cheap models often:
- Shake while recording
- Break during travel
- Have weak clamps
Ignoring Weight Limits
If you attach a heavy camera to a light tripod, it may fall.
Not Testing Stability
Always test:
With full extension
On smooth surfaces
On uneven ground
Lightweight Tripod Selfie Stick vs Traditional Tripod
| Feature | Lightweight Tripod Selfie Stick | Traditional Tripod |
| Weight | Very light | Heavy |
| Portability | Fits in backpack | Needs separate bag |
| Setup Time | Quick | Slower |
| Stability | Moderate | High |
| Travel Friendly | Yes | Not always |
For travel vlogging I personally choose lightweight options unless I am shooting professional cinematic videos.
SEO Tips for Ranking This Article
If you are optimizing this blog using Rank Math:
Keep keyword density around 1–1.5%
Use the focus keyword naturally
Add the keyword in:
Title
First paragraph
One or two H2 headings
Meta description
URL slug
Add alt text in images
Include internal and external links
Who Should Buy a Lightweight Tripod Selfie Stick?
You should consider it if:
- You are a beginner travel vlogger
- You create Instagram Reels
- You shoot YouTube travel content
- You travel solo
- You want stable videos without heavy equipment
Even casual travelers benefit from it.
How Much Should You Spend?
From my experience:
- Budget range: Good for beginners
- Mid-range: Best value
- Premium: Better materials and durability
Don’t overspend at the beginning. Upgrade later when your content grows.
FAQs (People Also Ask Style)
1. What is the best lightweight tripod selfie stick for travel vlogging beginners?
The best Lightweight Tripod Selfie Stick for travel vlogging beginners is one that’s lightweight, stable, compatible with your device and easy to carry. Travel vlogging beginners should focus on stability and durability of their Lightweight Tripod Selfie Stick over features.
2. Can I use a lightweight tripod selfie stick for professional YouTube videos?
Yes, especially for travel and outdoor videos. However, for studio shoots, a traditional tripod may offer more stability.
3. Is a tripod selfie stick allowed in flights?
Yes, in most cases it is allowed in cabin luggage. Always check airline guidelines before travel.
4. How long should a travel tripod selfie stick extend?
An adjustable range between 20 cm and 150 cm is ideal for flexible shooting angles.